One of the most exciting things about Flutter is building products beyond mobile apps. After all, anywhere where you see a screen, you should be able to create Flutter apps for it. And most of us, when we are not looking at our phones, or our computers, we still spend a few hours per week “looking” at a different screen: our vehicles, and their In-Vehicle Infotainment (IVI) systems. And, of course, you can create that whole experience with Flutter and Automotive Grade Linux, the industry-standard open platform used by many automakers and suppliers to enable rapid development of new features and technologies for vehicles.
We joined the project in Spring of 2026, and we will be debuting a new demo during this year’s AGL All Members Meeting Europe 2026 in Berlin.
If you’re interested in building your own IVI project on top of AGL, this guide should contain all the information you need to get you started.
The Reference Hardware
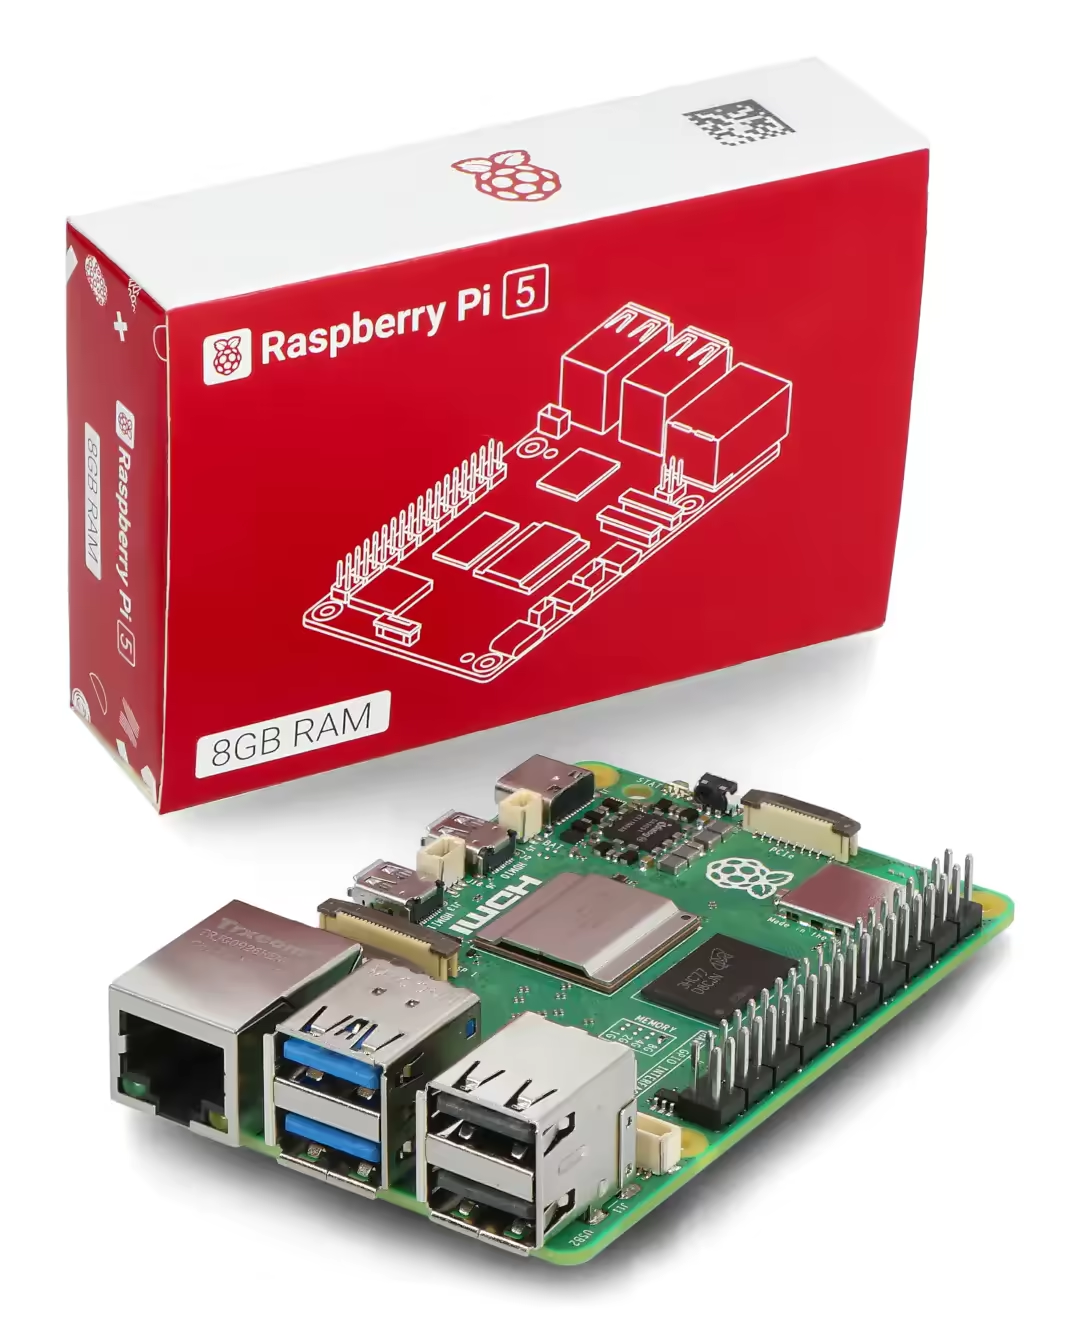
AGL can run in many different hardware hosts, but my favorite one, as it is very accessible and affordable, is the Raspberry Pi 5. I have tried both the 1GB and 8GB RAM models, and both will do quite well for the majority of the use cases you can imagine.
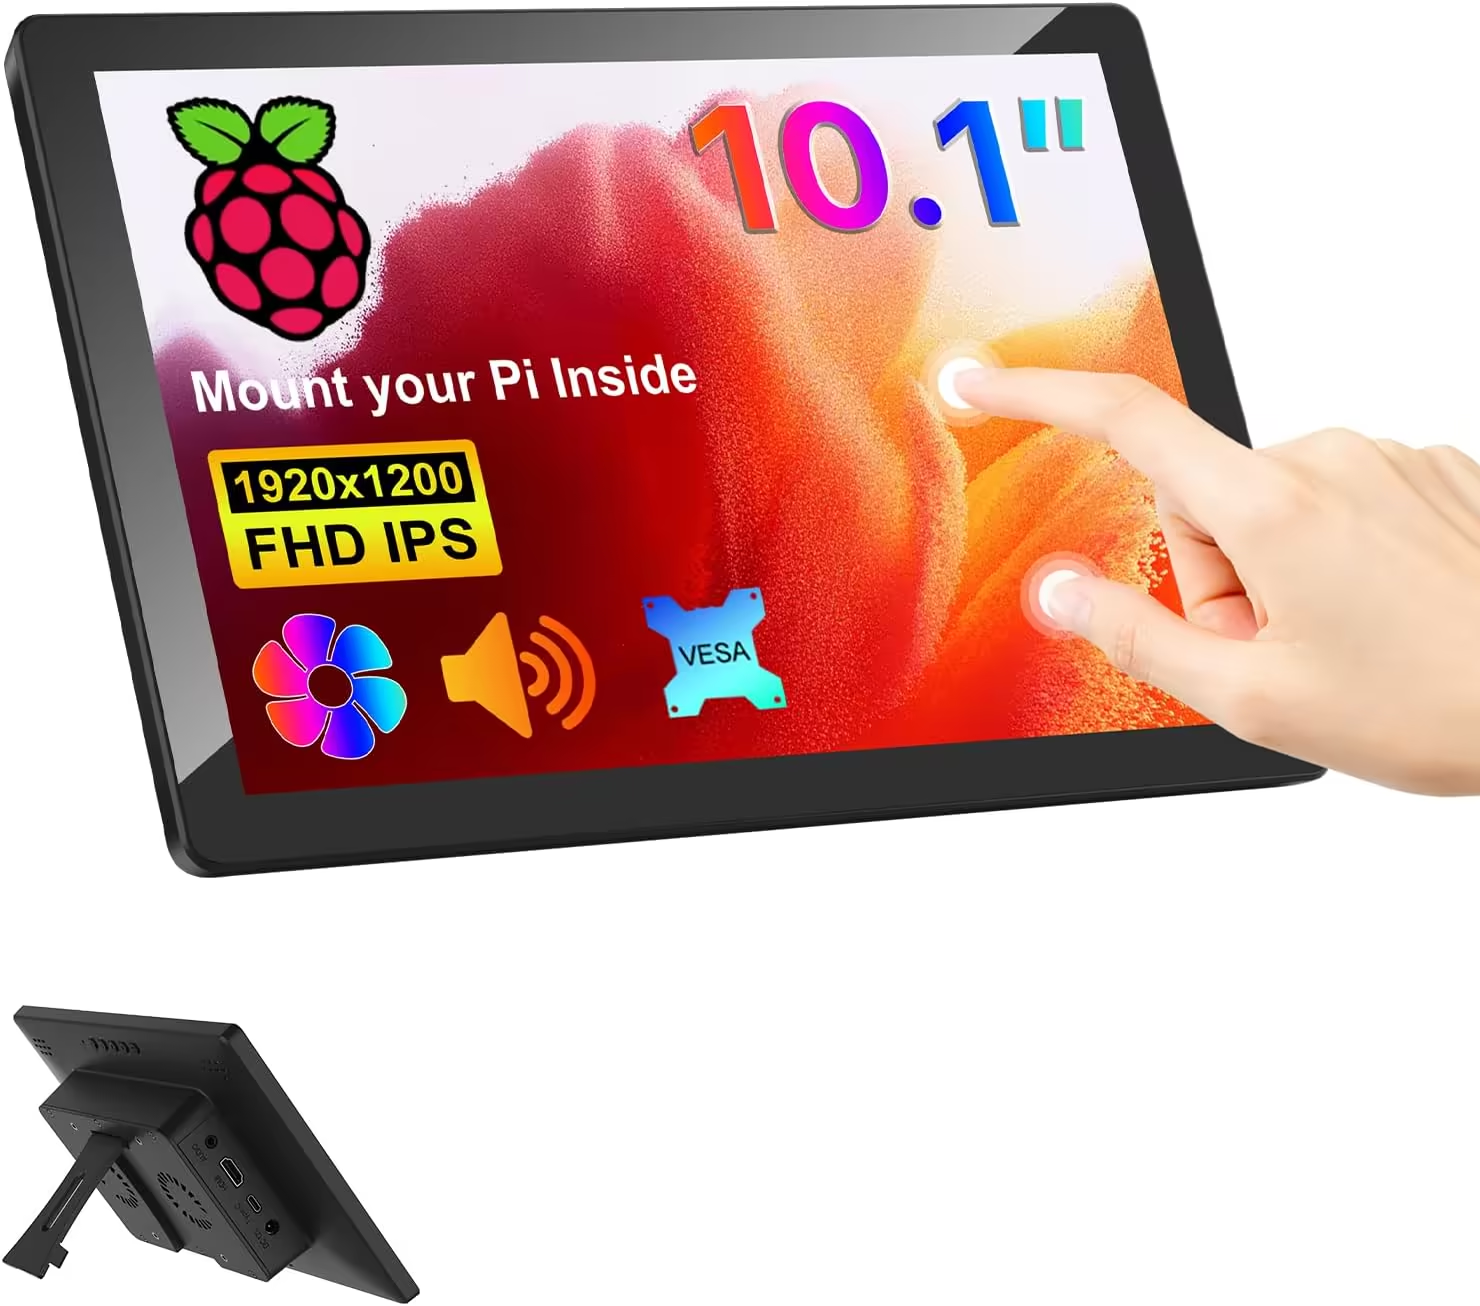
In order to have a realistic IVI experience, you will need also a touchscreen. I’m particularly fond of the 10.1” form factor, and a quick Amazon search should give you an array of options to choose from.
In my case, I have MAGEX 10.1” Multi-Touch Screen with Audio support that I like a lot, as it offers a case for the Pi, multi-touch support and audio output in one single device, which makes it perfect for testing, but also to use as demo hardware at conferences and booths.
Finally, you will need an SD Card that can hose the operating system and the Flutter app. Mine is 32GB, and there’s definitely extra storage in there.
Needless to say, you don’t need any hardware to get you started, as you can create AGL emulators within your computer, but in my opinion, the best developer experience when building for a vehicle is when you can deploy to the hardware directly.
Is It As Simple As Targeting Linux?
The answer is no. When you run flutter run -d linux you are targeting Flutter’s GTK desktop embedder, but AGL does not use that embedder. AGL images run their own Wayland compositor, and expect Flutter apps to be hosted by a purpose-built embedder like ivi-homescreen, as we will see in this guide.
Where Do We Start?
There are multiple ways to run your Flutter app inside a custom embedder, and this guide only covers one of those options. I will be relying on the custom tools built by our colleagues at Toyota; after all, they are the major automaker shipping Flutter to millions of drivers.
We will be using the following tools:
- meta-flutter: A Yocto layer that bakes the Flutter engine, embedders, and your apps into embedded Linux images like AGL.
- ivi-homescreen: Toyota Connected’s C++ Flutter embedder that hosts Flutter apps directly on Wayland, DRM/KMS, or Vulkan with no GTK involved.
- emb_cli: A Dart CLI that sets up an embedded Flutter workspace and cross-compiles AOT app bundles for ivi-homescreen, ported from meta-flutter’s workspace-automation scripts.
This guide will also assume that you will be deploying from Ubuntu (Resolute Raccoon is the version I’m using).
If you already have an existing Flutter app that you want to port to AGL, you will need to validate that all your dependencies have Linux support. And, even if all your dependencies have Linux support, you might encounter issues. Here you can find a list of the most important plugins that require platform code to be officially supported: IVI Homescreen Plugins
If you don’t have an existing app, go ahead and run flutter create your_app.
Setting Up Your Environment
When building a Flutter app for AGL, the coding process won’t change: after all, widgets are portable across platorms, unit and widget are headless, and your building process is done inside your IDE… I mean, your agentic workflows.
However, the infrastructure is completely different. First of all, you will need to flash your SD card with Automotive Grade Linux. You can do so with kas or bitbake, completely up to you. This setup changes from time to time, so it is best to check the latest documentation from the AGL team.
Once you do that, you can use emb_cli to cross-compile the Flutter app’s AOT bundle, and push it to your new target:
emb cross . --target <agl_target> \
            --build \
            --backend wayland \
            --workspace <your_workspace> \
            --app <your_app_directory> \
            --mode release \
            --deploy <pi_ssh_location>
In order to get your agl_target, running emb cross . --list-targets might offer you some information about where your AGL-flavored image is located.
As for your pi_ssh_location, most of the times you will find at your_username@raspberrypi.local if you are connected to the same network.
Once this command completes successfully, your AOT bundle will be now located inside your Raspberry Pi’s SD card. It is time to launch the app.
From within IVI homescreen, you can just invoke homescreen to launch your experience:
sudo ./homescreen -b . --fullscreen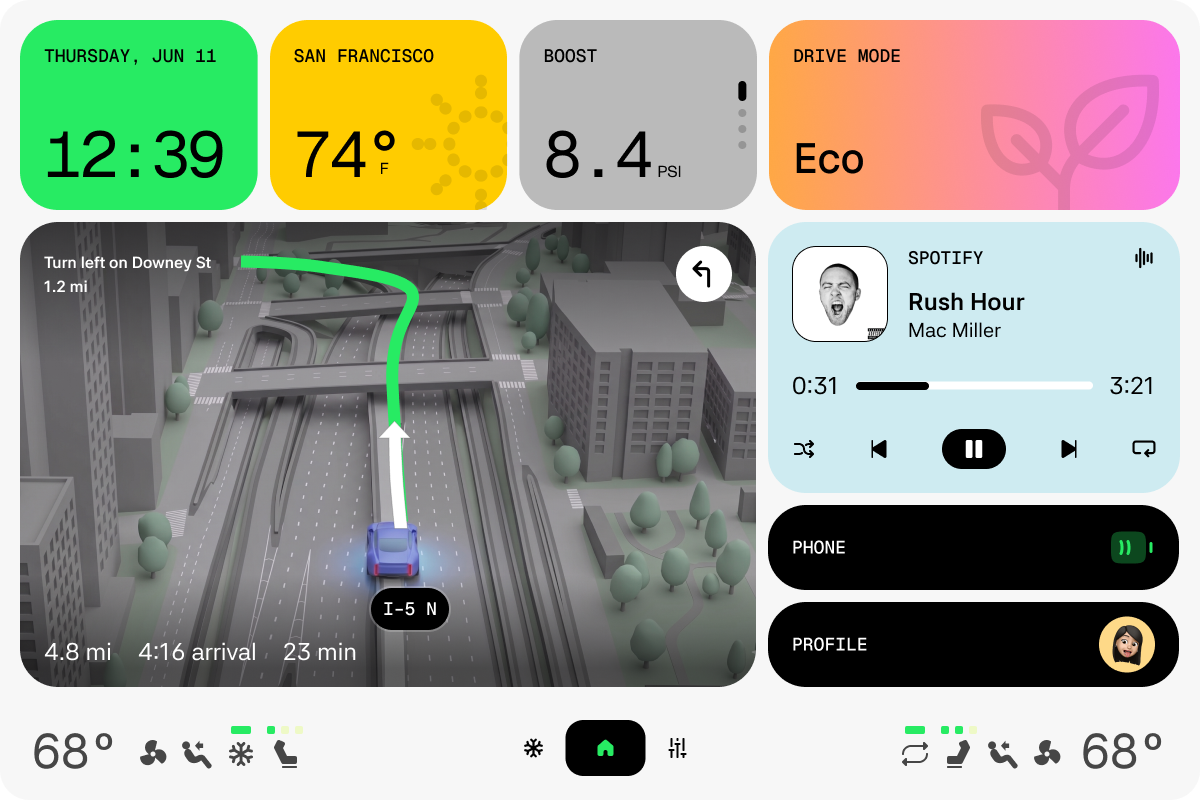
From here, it’s all the same process. Iterate. Compile. Deploy. Repeat.
And the best part of it, is that the whole UI is still the Flutter wdiget system we are all used to use in mobile, web, and desktop.
Extra Bonus: Shipping To Any Embedded Device
The tools mentioned above (meta-flutter, ivi-homescreen and emb_cli) aren’t AGL exclusive. For example, our good friends from NuStep run all the gym and PT hardware equipment with Flutter, as shown this year at Fluttercon USA 2026.
One More Thing
This would not be a VGV demo withot the code being open sourced, which can be found at VGVentures/agl_ivi_flutter_demo.
So, now that you know all this, the sky is the limit. Time to build. Let’s go!