Intro ✨
Many exciting updates came out of the Flutter Windows update from last week, most notably that there is now stable support for Windows apps built with Flutter.
We’re sure that this development will make many Flutter developers want to experiment with creating Windows-based versions of their current Flutter apps or target Windows in new projects. In order to do that, we need to configure a new Flutter environment setup.
While Flutter development has been possible on Windows for quite some time, this may be new territory for Flutter developers who regularly use macOS (including our team here at VGV). This blog will guide you through the configuration process.
Note that this is an opinionated guide to configuring your local environment according to our preferences — feel free to use whatever setup works best for you. This guide was written with the assumption of running on the latest Windows 11 release, but based on the version you’re running, some changes may be required.
Set Up ⚙️
Before getting started, be aware this process may be a lengthy one due to the size of some of the installation packages and downloads. For all commands we will be using the “Windows Terminal” which now comes standard with Windows 11 and defaults to “Windows PowerShell” mode.
1 - Chocolatey
While the Mac has Homebrew, the Windows equivalent is Chocolatey. It’s not technically required to get Flutter running on Windows, but it will make things much easier. You can follow the install instructions on their site. One thing to note is that you need to start the Terminal in “administrative mode”. Do this by right clicking on Windows Terminal in the Start menu and select “Run as Administrator.”

2 - Install the pre-reqs
There are a few things that all need to be downloaded and installed before we start running anything. The good news is that this can all be done with just a few Terminal commands via the choco command which was just installed.
choco install vscodechoco install gitchoco install fvmchoco install visualstudio2022community3 - Flutter setup via fvm
While you can get Flutter up and running without the use of fvm, it’s a good idea to start using it right away. This will allow you to easily install, revert, and change what version of Flutter you are using.
fvm install stablefvm global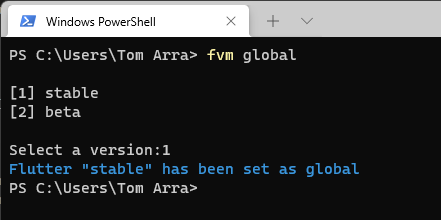
When setting the global version of Flutter to use, you will be shown the list of all Flutter versions you have installed so far. In this case we want to choose stable. By default, fvm is installed in your user directory. Once it is installed you can easily proxy flutter and dart commands through fvm.
In order to cut down the number of keystrokes we need, we can just can add whatever fvm is pointing to as the global version to our environment. To do this we go to Settings -> System -> About, and then click on “Advanced system settings” in the Device specifications panel. In the window that pops up you can then select “Environment Variables”.
Find the Path variable in the top section of User variables. Double clicking on it will allow you to add a new item to the path. Here is where you add the path to your fvm install.
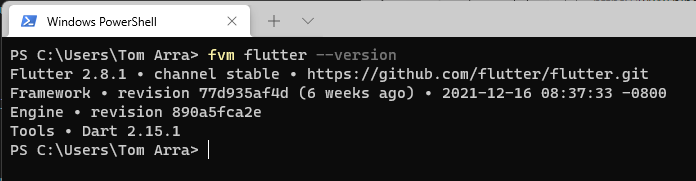
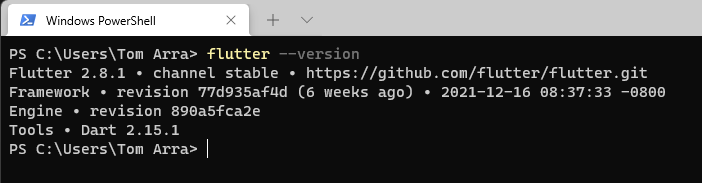
Remember that this is typically installed in your user directory so we just need to point to the default/bin folder. As we update our version of Flutter via fvm, then the system will automatically update. After this is complete, restart Terminal and you should be able to run flutter —version directly.
4 - Visual Studio setup
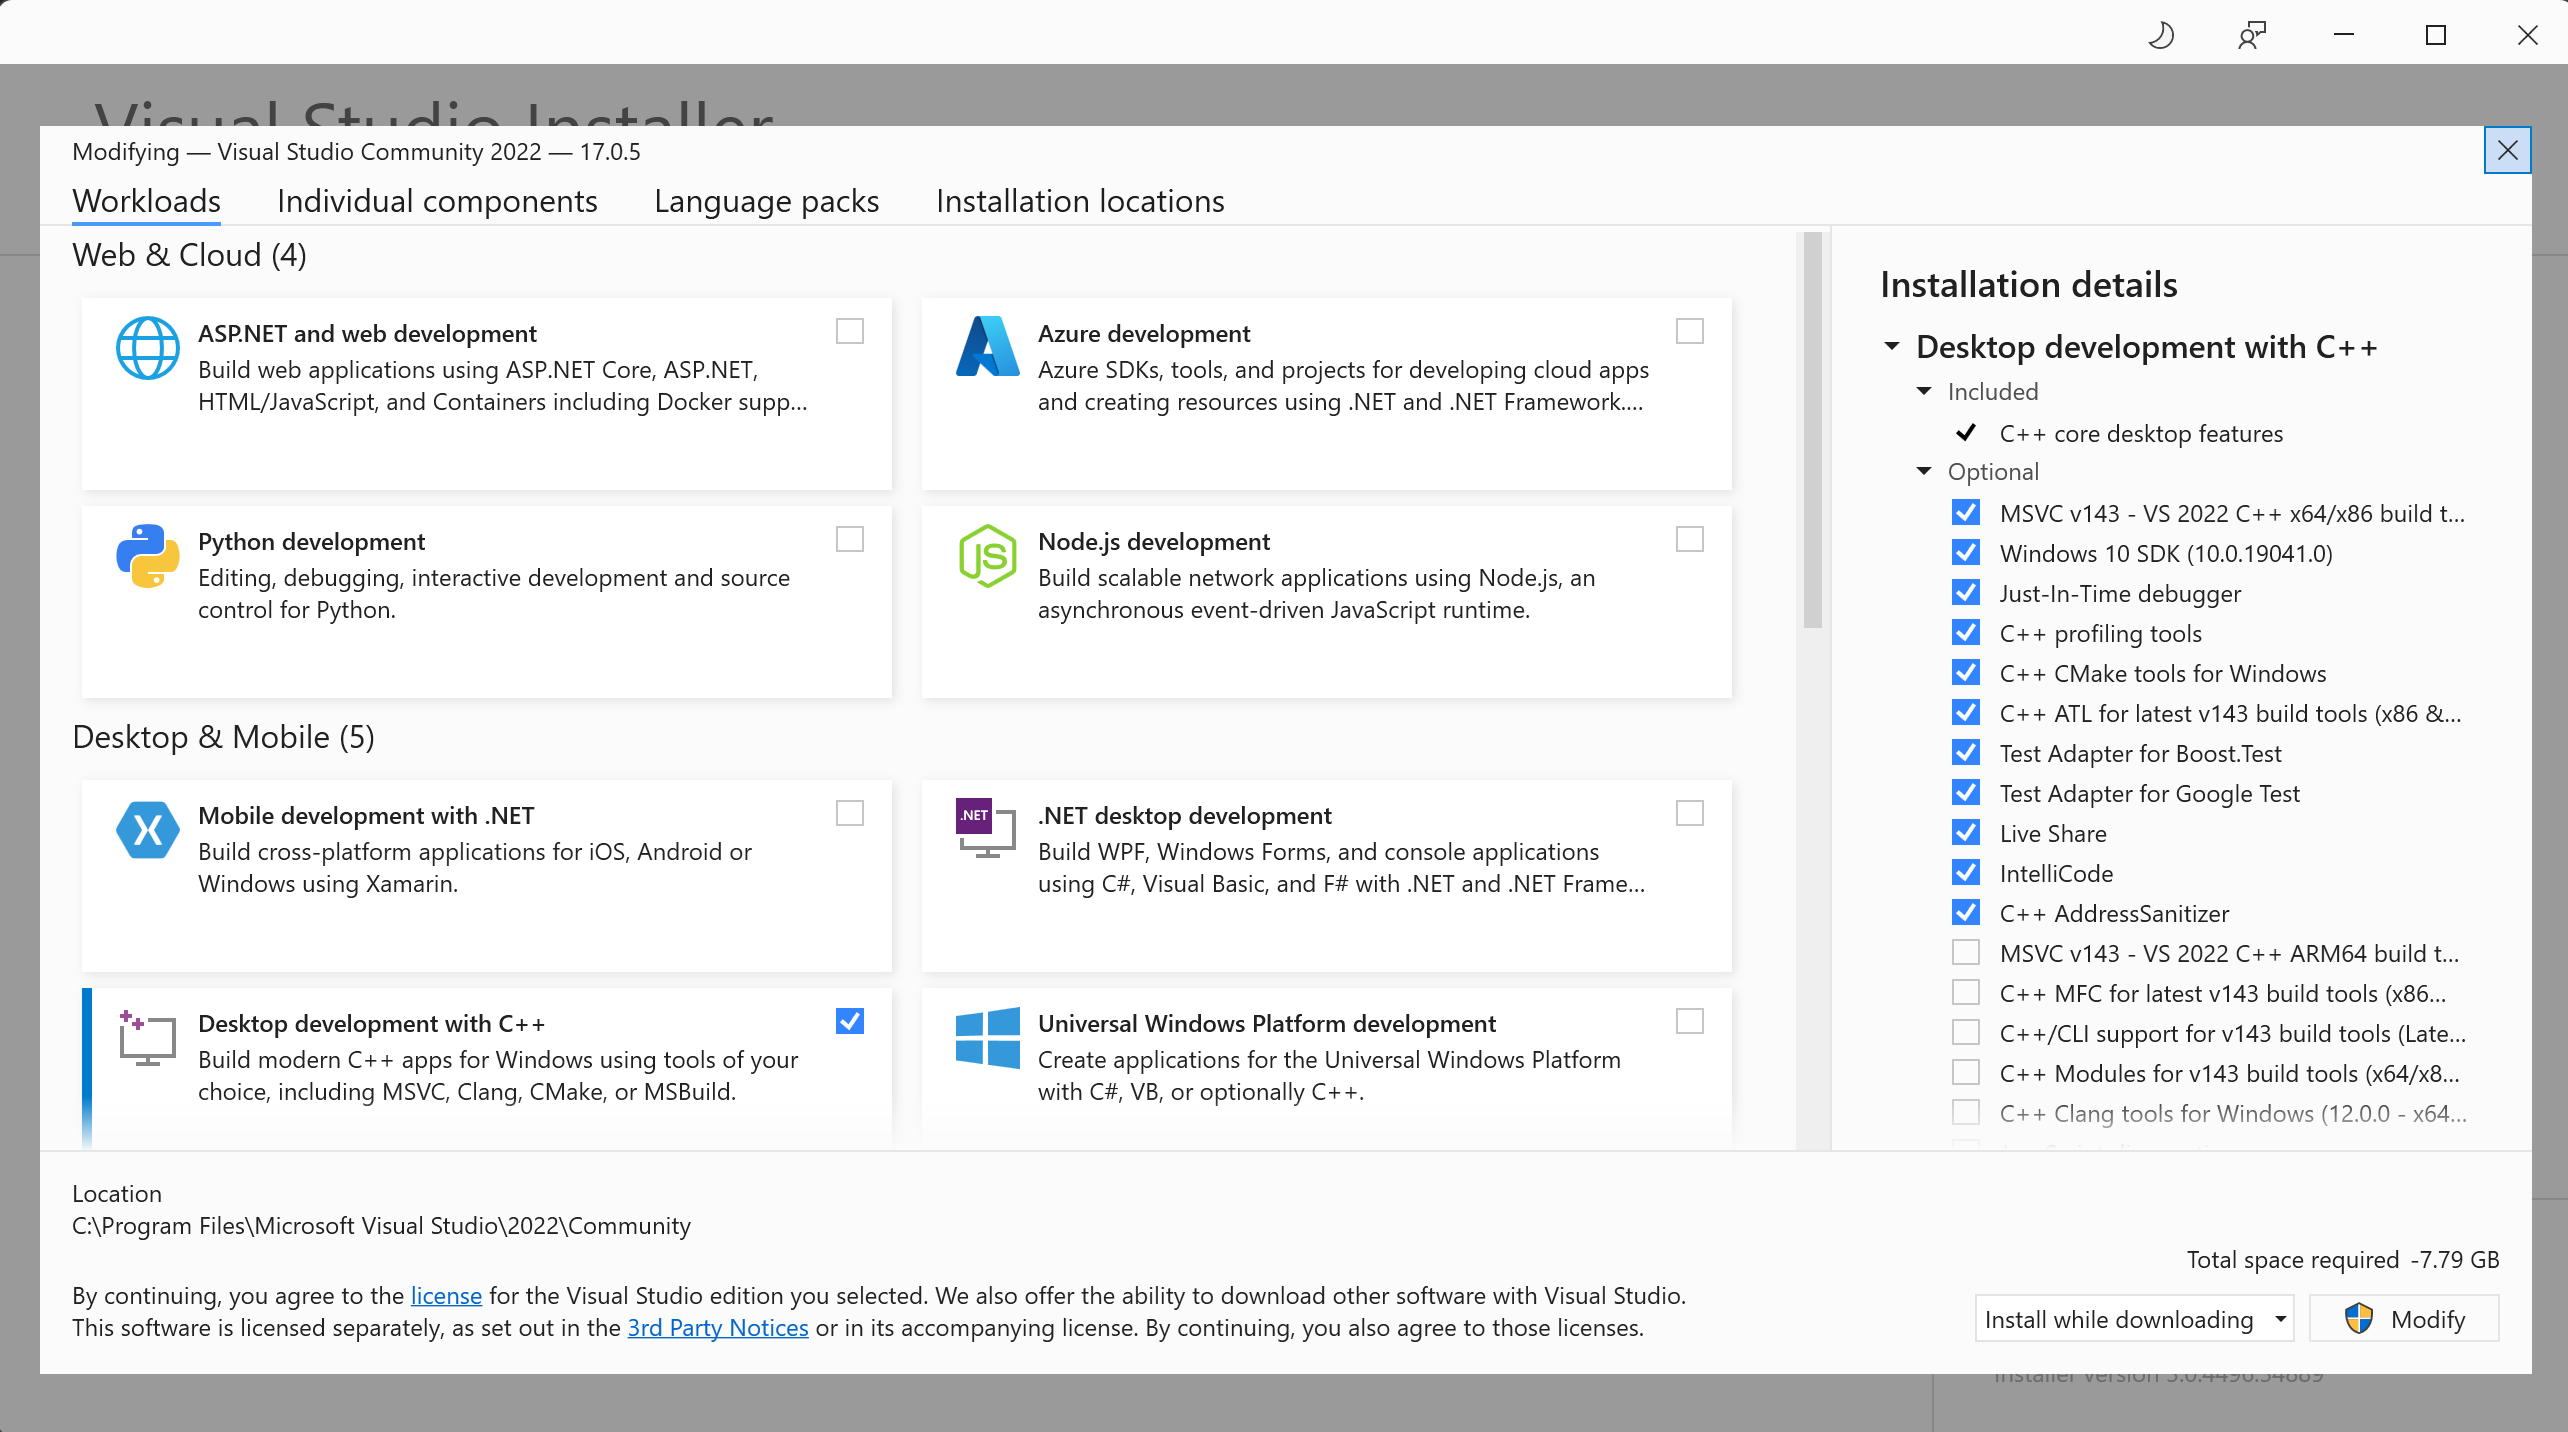
There are a couple of extra requirements we’ll need to configure in Visual Studio in order to get a Flutter Windows app up in running. While we have the basic install completed back in step two, we need to open up the “Visual Studio Installer” and modify our installation.
Select “Desktop development with C++” from the list and click “Modify”. Note that this package is large and will most likely take a while to get downloaded and installed.
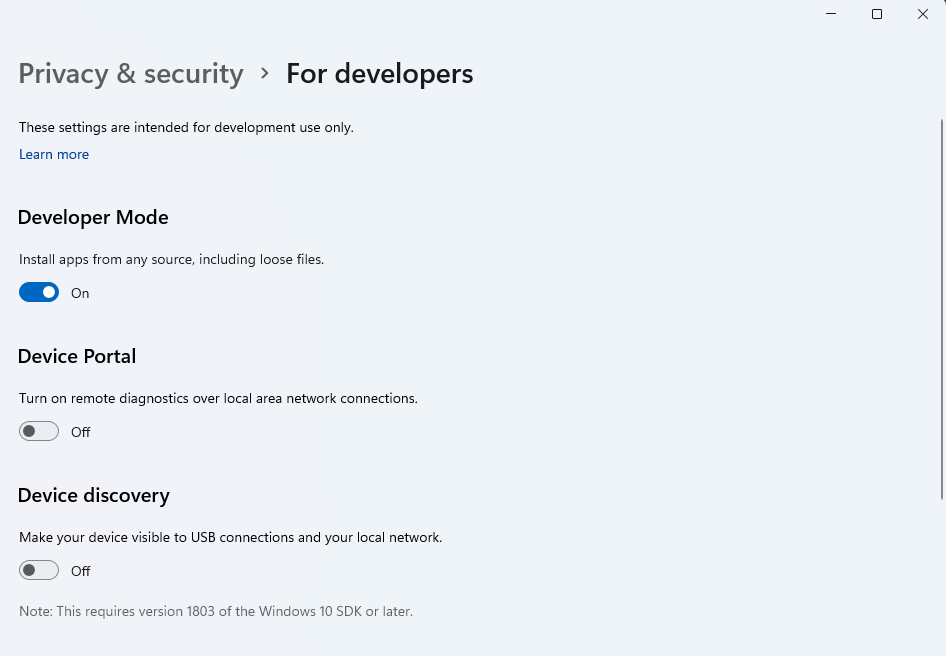
5 - Enable Windows developer mode
If your ‘re already in the Terminal, you can quickly jump to this by entering start ms-settings:developers. Otherwise, you can also get to it via the Settings app under Privacy & Security, and then For Developers. Go ahead and flip the “Developer Mode” switch to on.
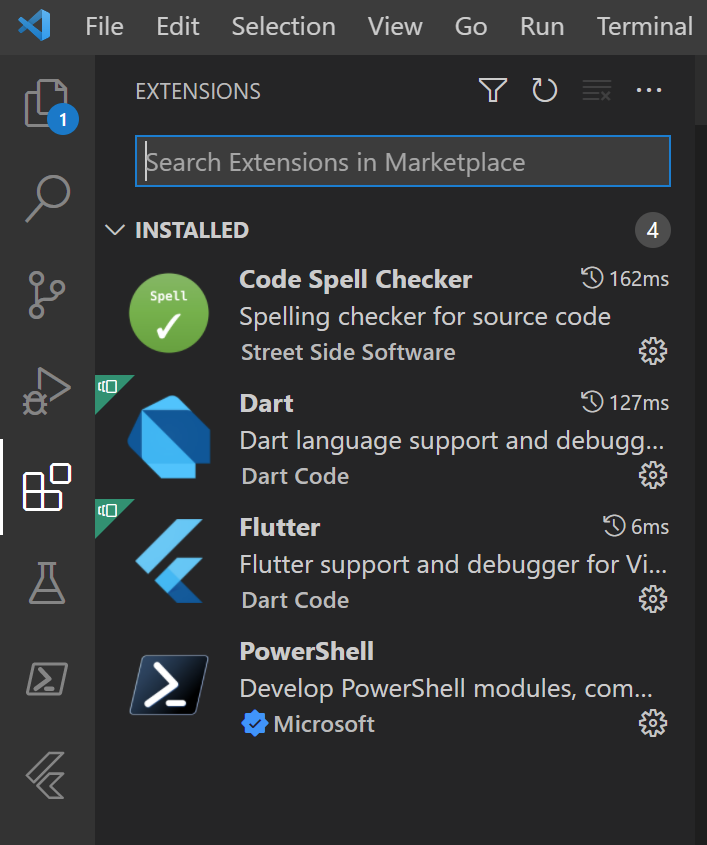
6 - VS Code setup
With everything installed, we can finally setup VS Code for Flutter development. Search for and install the “Flutter” plugin, and the “Dart” plugin will automatically be installed as well.
And with that our environment is setup and ready to go for Windows app development using Flutter! We now can either create a new Flutter app or try and add Windows support to an existing Flutter app.
Create a New Flutter App
With Windows support becoming stable, we no longer need to enable any extra flags or configuration. Just running a simple flutter create app_name_here command will get you the basic Counter app with iOS, Android, web, and Windows support. Simple run the command, open the new project in VS Code, and run the app with “Windows” as the selected device.
Add to Existing Flutter App
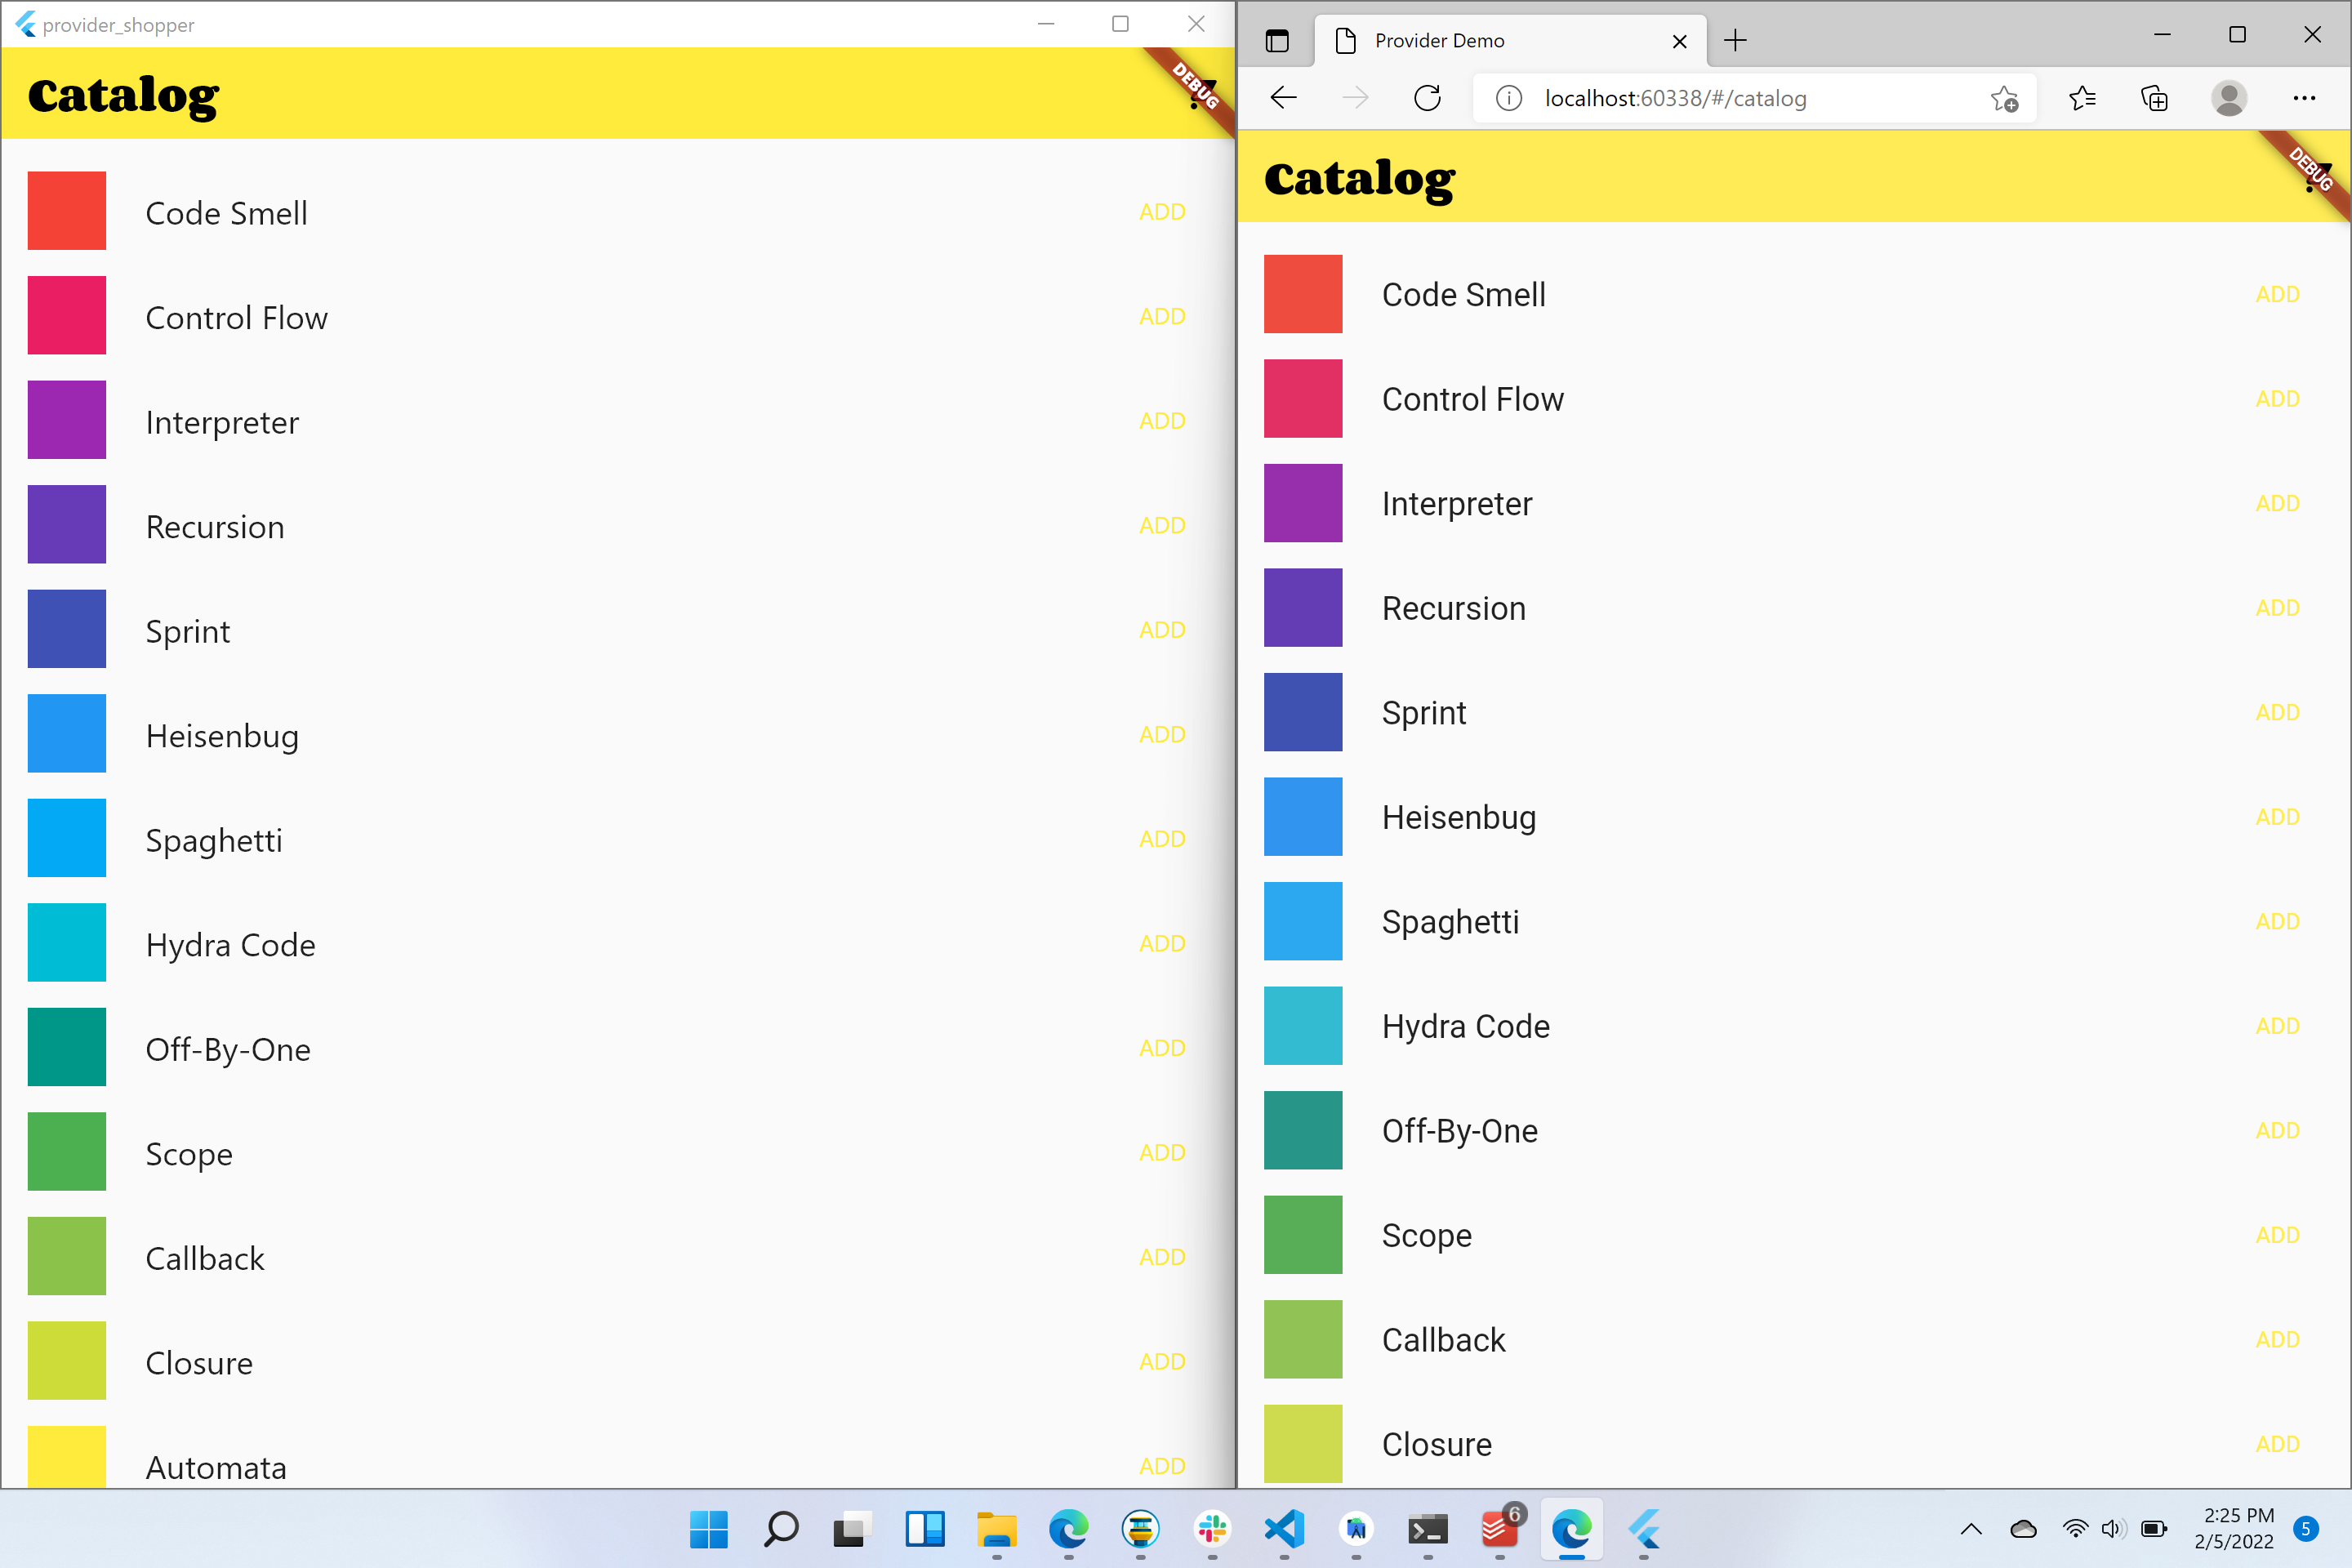
This is where things can get tricky. In order to add a Windows target to your current Flutter app, you just need to run a simple command, flutter create —platform=windows. This will do an update in place and create the new targets needed for the builds to happen.
In order to demonstrate this we can easily take a Flutter project from the Flutter Gallery, execute the create command to add the Windows support, and then run the app side by side with another platform like web via Edge.
If you take the extra time to setup Android Studio, we can even get three platforms all running at the same time. Simply updating a few packages allows us to get the slide_puzzle running in Android, Windows, and Web via Edge.

While the Flutter framework has had support for Windows in beta form for a while, the Flutter community may need to catch up. If you have a very robust Flutter based app today it’s possible that not all of the third party packages that you use will be updated to fully support Windows yet. This is a similar thing as we saw last year when Flutter on the web moved to stable, the community needed time to catch up.
We hope this guide helps you expand your apps to Windows, or create new experiences that target the desktop, built using Flutter’s familiar tooling. We’re excited to see what comes next from Flutter as the team continues to make notable progress on supporting multiple platforms!