Most Flutter apps that integrate AI do it the same way: call an API, get text back, show it. It works — until you need retries on flaky calls, tools that query your own data, structured output you can trust without parsing hacks, or the ability to swap providers without a rewrite.
Genkit is Google’s open-source AI framework for Dart. It sits between your app and the model API, giving you the infrastructure that production AI features need:
- Flows — named, composable, observable units of AI work
- Middleware — pluggable request processing (retry, logging, caching)
- Tools — let the model call your business logic with validated schemas
- Structured output — guaranteed typed JSON responses, no regex
- Provider-agnostic — swap between Gemini, Claude, Ollama, or any supported provider by changing a plugin
It runs anywhere Dart runs: in a Flutter app, on a backend server, or both.
What We’re Building
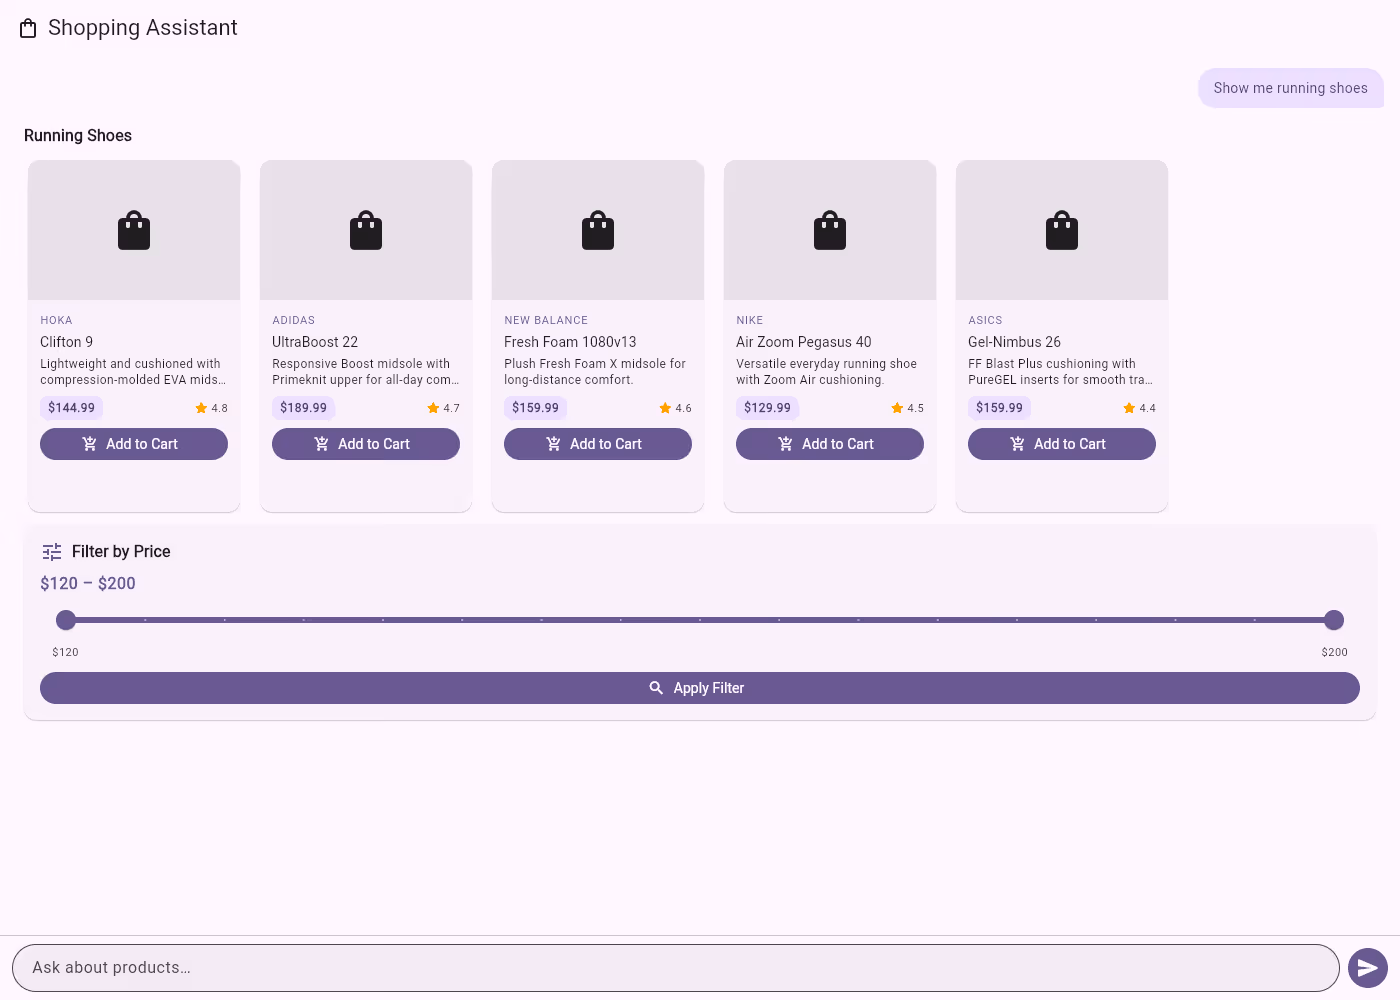
In Part 1 we built a conversational shopping assistant using Flutter, GenUI, and Firebase AI. The app renders interactive product cards, carousels, and filters — all driven by natural language. If you haven’t read it, that post covers the GenUI architecture, the catalog system, and how AI responses become rendered widgets.
Here, we take that same app and swap Firebase AI for Genkit. The UI layer stays untouched — we’re only changing how the app talks to the model. But instead of stopping at a basic migration, we’ll use Genkit’s features to add things that would have been painful to build by hand. We’ll run Genkit client-side to keep things simple — in Part 3 we’ll move it to the backend where it really shines.
The full source code is available on the genkit-refactor branch of the repository — follow along or jump ahead.
Let’s start with the one that matters most.
1. Flows: Genkit’s Core Abstraction
Without Genkit, calling an AI model in Dart looks something like this: build a prompt, call generate(), handle the response, catch errors. The configuration — model name, tools, system prompt, retry logic — lives wherever you make the call. It works, but it doesn’t scale. You can’t trace it, you can’t test it in isolation, and you can’t reuse it without copy-pasting.
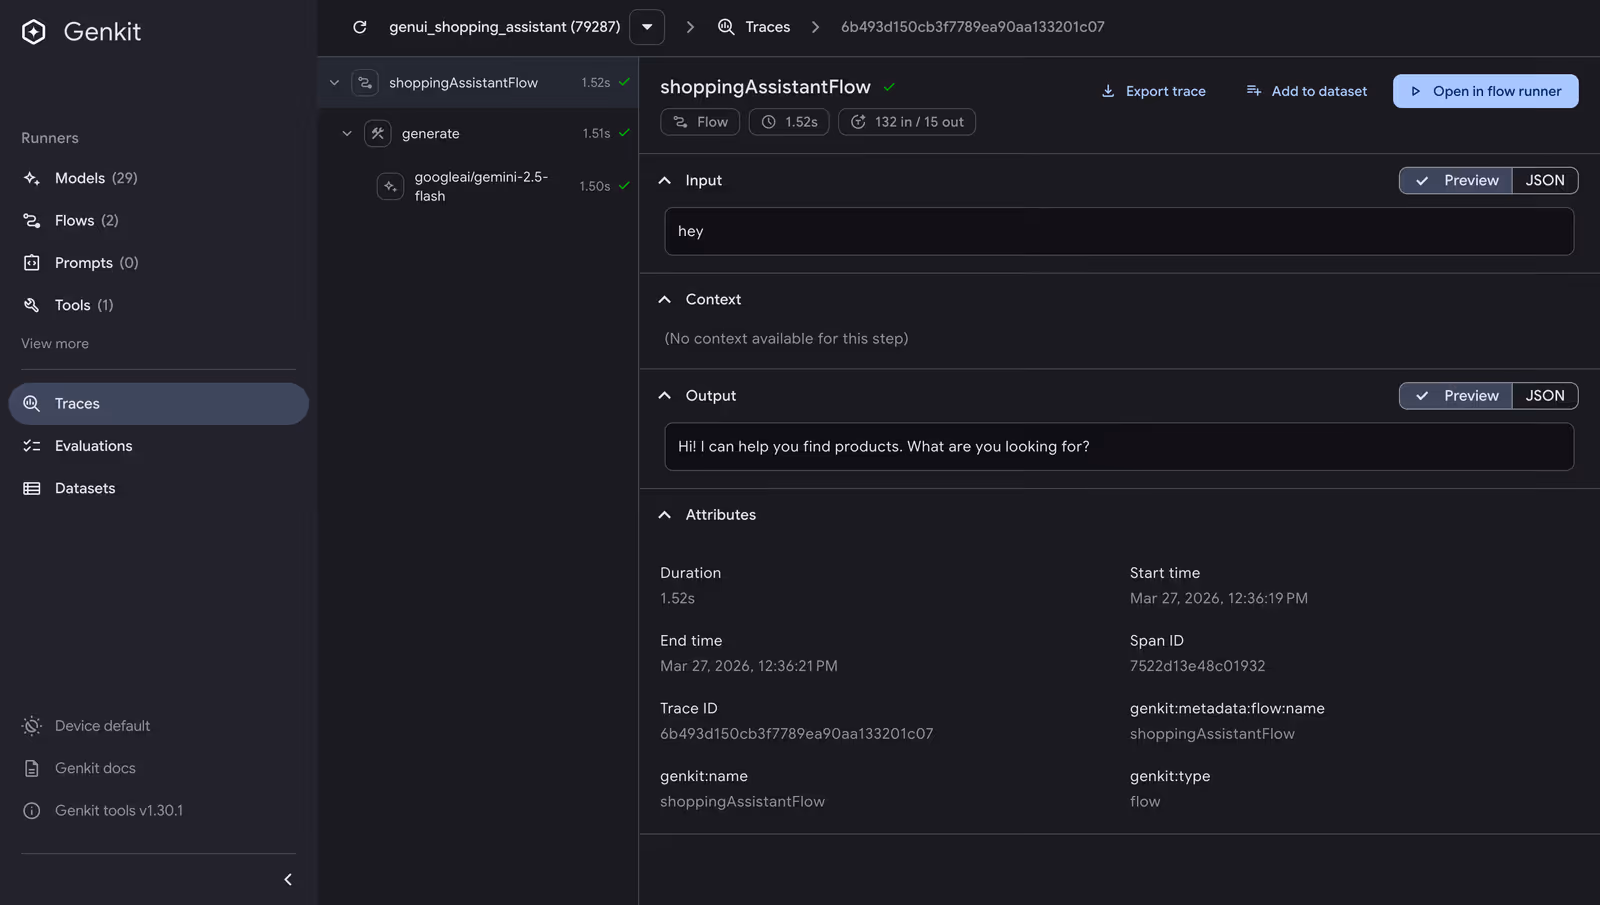
A flow is Genkit’s answer to this. Think of it as a function with superpowers: it has a name, typed inputs and outputs, and Genkit automatically traces its execution. You define a flow once, and you can call it from anywhere.
Here’s what our shopping assistant flow looks like:
_shoppingAssistantFlow =
    _genkit.defineFlow<List<genkit.Message>, String, void, void>(
      name: 'shoppingAssistantFlow',
      fn: (messages, context) async {
        final response = await _genkit.generate<GeminiOptions, void>(
          model: googleAI.gemini('gemini-2.5-flash'),
          config: GeminiOptions(
            thinkingConfig: ThinkingConfig(
              thinkingBudget: 0,
              includeThoughts: false,
            ),
          ),
          messages: messages,
          tools: [
            _surfaceUpdateTool,
            _beginRenderingTool,
            _deleteSurfaceTool,
          ],
          maxTurns: 30,
        );
        return response.text;
      },
    );
The type signature tells the story: defineFlow<List<Message>, String, void, void> means this flow takes a list of messages in and returns a string out. All the configuration — which model, which tools, how many turns — is encapsulated inside. The callsite becomes a single line:
final text = await _shoppingAssistantFlow(messages);This matters for three reasons:
- the flow has a name (shoppingAssistantFlow), so Genkit’s dev tooling can trace every execution — you can see exactly what the model received, what tools it called, and what it returned;
- flows compose: you can call one flow from inside another, which we’ll do later when we build a structured recommendation flow that feeds into this one;
- a flow is just a typed function with a name, you can test it in isolation without spinning up your entire UI.
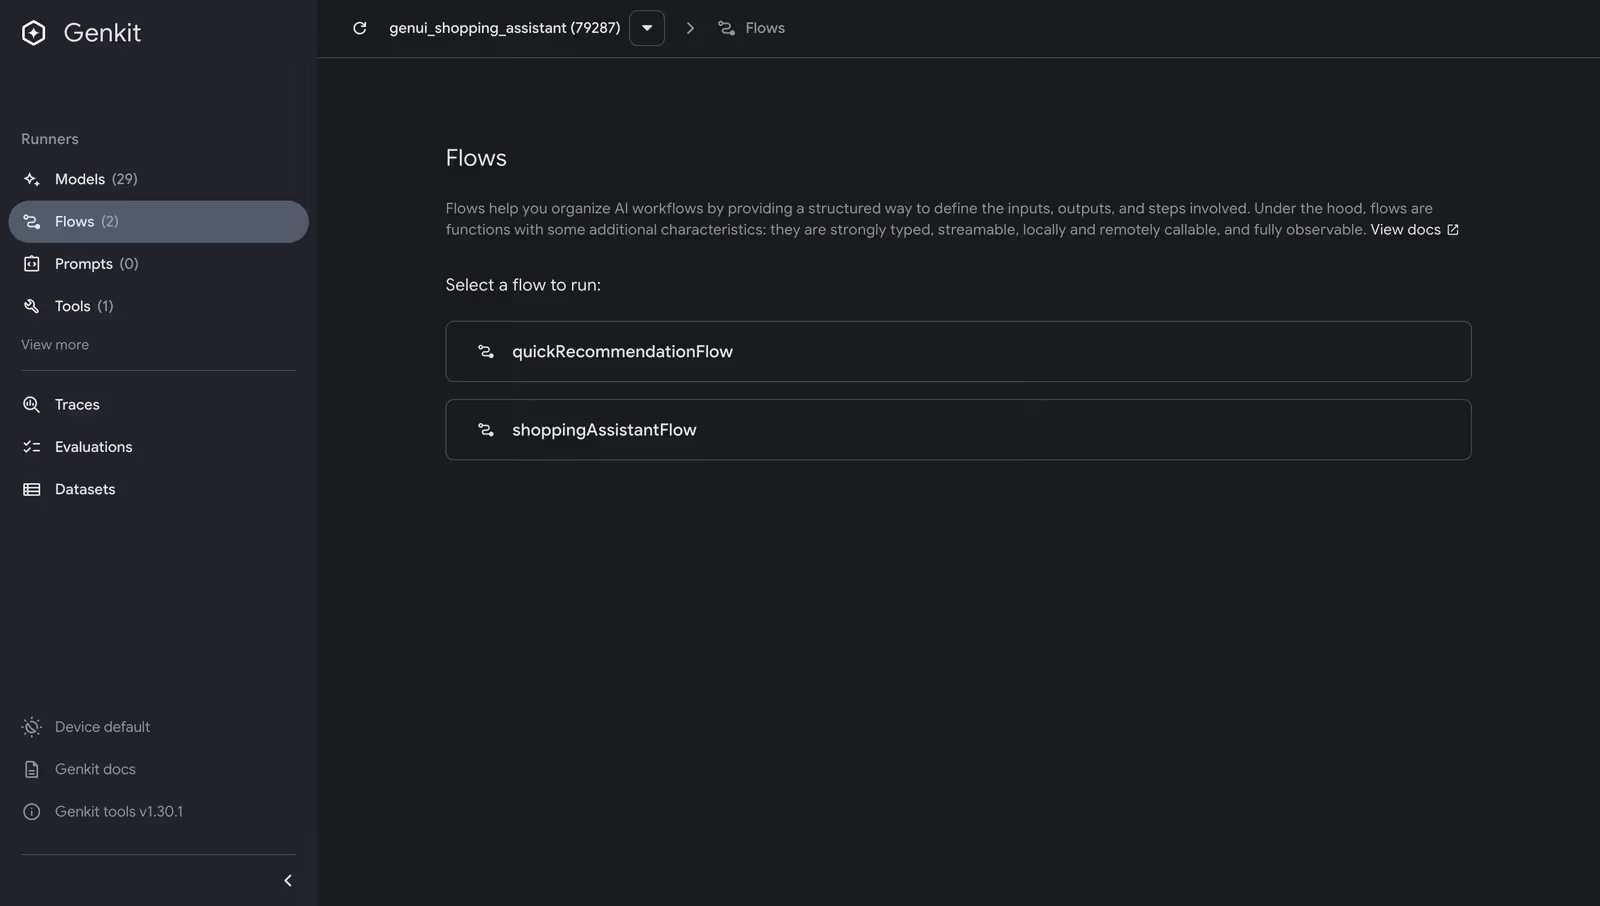
Try it yourself: Install the Genkit CLI (
npm install -g genkit-cli), create a standalone Dart script that defines your flows (seetool/dev_ui.dartin the repo), and rungenkit start -- dart run tool/dev_ui.dart. The Dev UI opens athttp://localhost:4000, where you can run flows, inspect traces, and debug tool calls — all without your Flutter app running. See the Genkit developer tools docs for more.
2. Middleware: Retry Logic You Don’t Have to Write
AI API calls fail. If you’ve worked with any LLM provider — Gemini, OpenAI, Claude — you’ve experienced it: rate limits hit, services go temporarily unavailable, and a transient error shouldn’t crash your user’s session. The standard fix — a retry loop with exponential backoff — is maybe 30 lines of boilerplate you’ll write identically in every project.
Genkit ships a retry middleware that plugs directly into any generate() call via the use parameter. First, register RetryPlugin when initializing Genkit:
_genkit = Genkit(plugins: [googleAI(apiKey: apiKey), RetryPlugin()]);Then use it in any generate() call:
final response = await _genkit.generate<GeminiOptions, void>(
  model: googleAI.gemini('gemini-2.5-flash'),
  messages: messages,
  tools: [ /* ... */ ],
  use: [
    retry(
      maxRetries: 3,
      initialDelayMs: 500,
      maxDelayMs: 5000,
      backoffFactor: 2,
      statuses: [
        StatusCodes.UNAVAILABLE,
        StatusCodes.RESOURCE_EXHAUSTED,
        StatusCodes.DEADLINE_EXCEEDED,
      ],
    ),
  ],
);
Three retries, exponential backoff starting at 500ms, capped at 5 seconds, and only for the status codes that represent transient failures. The use parameter takes a list, so you can stack multiple middleware — logging, caching, retry — in whatever order makes sense.
3. Custom Tools: Giving the Model Access to Your Business Logic
Our shopping assistant already has UI tools — surfaceUpdate, beginRendering, deleteSurface — that let the model build interactive interfaces (see Part 1 for how those work). But what if the model needs to find the right products before it can display them? You need to give it access to your data. In Genkit, you do that with tools.
A tool is a function the model can call during generation. You define it with a name, a description (so the model knows when to use it), an input schema (so the model knows what parameters to pass), and an implementation. Genkit handles the rest — validating inputs, invoking the function, and feeding the result back to the model.
Here’s a searchProducts tool backed by a hardcoded inventory (in a real app, this would hit your database or API):
_searchProductsTool =
_genkit.defineTool<Map<String, dynamic>, String>(
name: 'searchProducts',
description:
'Searches the product inventory by keyword query. Returns '
'matching products with name, price, description, category, '
'brand, and rating. Use this to find products before rendering '
'them with surfaceUpdate/beginRendering.',
inputSchema: SchemanticType.from<Map<String, dynamic>>(
jsonSchema: {
'type': 'object',
'properties': {
'query': {
'type': 'string',
'description': 'Search query — matches product name, '
'description, category, or brand.',
},
'category': {
'type': 'string',
'description': 'Optional category filter.',
},
'maxResults': {
'type': 'integer',
'description': 'Maximum results to return. Defaults to 5.',
},
},
'required': ['query'],
},
parse: (json) => json as Map<String, dynamic>,
),
fn: (input, _) async {
final results = searchProducts(
query: input['query'] as String,
category: input['category'] as String?,
maxResults: (input['maxResults'] as num?)?.toInt() ?? 5,
);
return jsonEncode(results.map((p) => p.toJson()).toList());
},
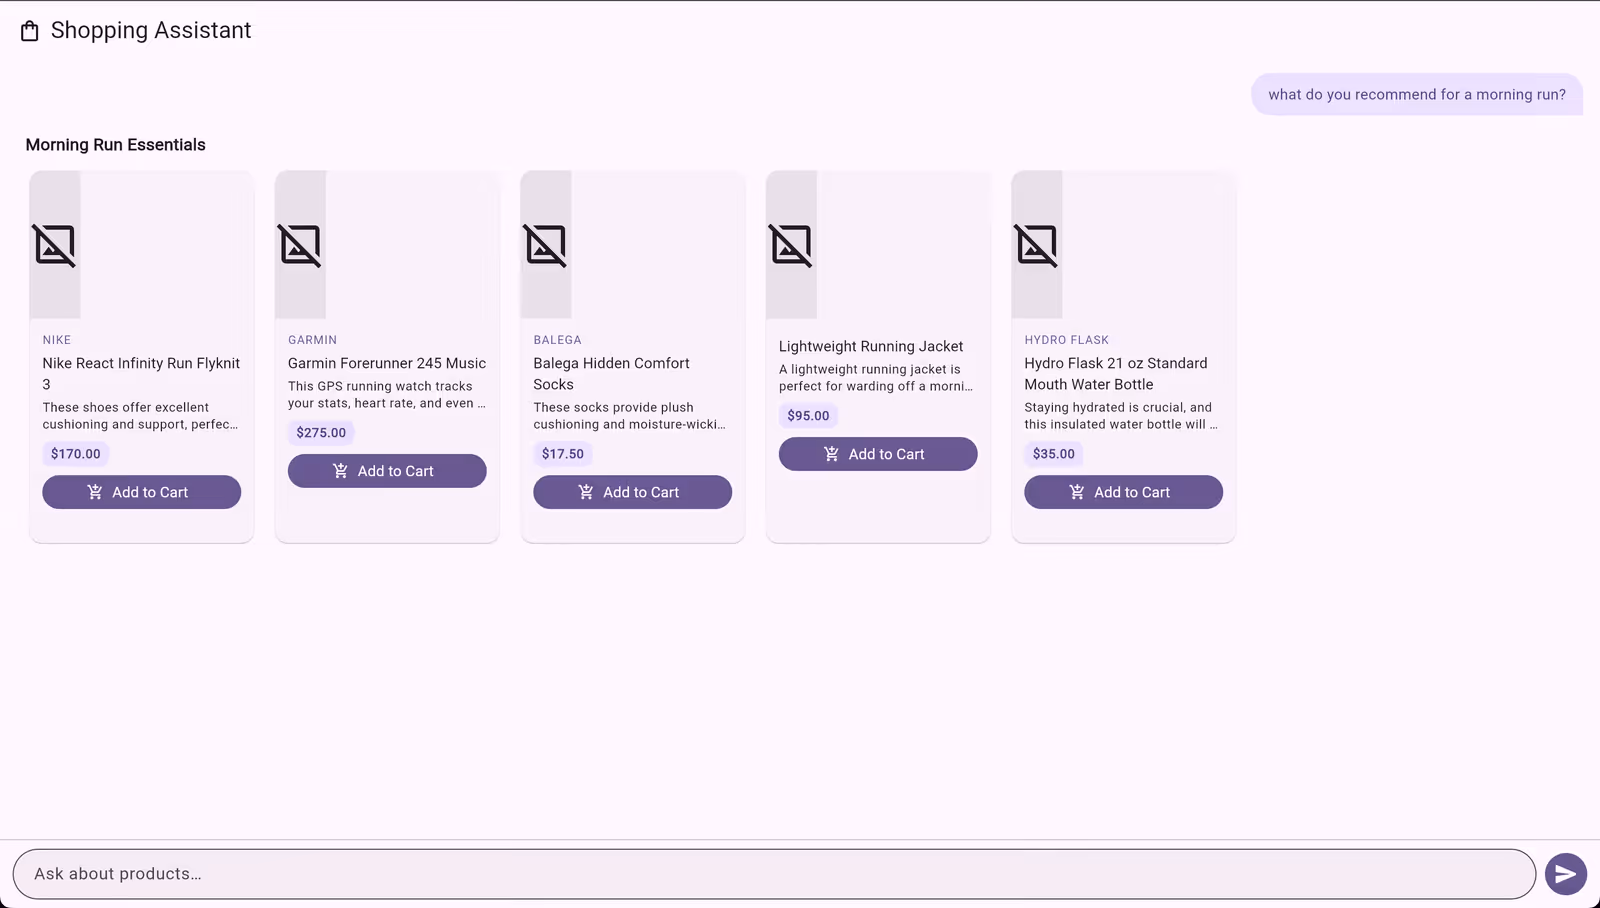
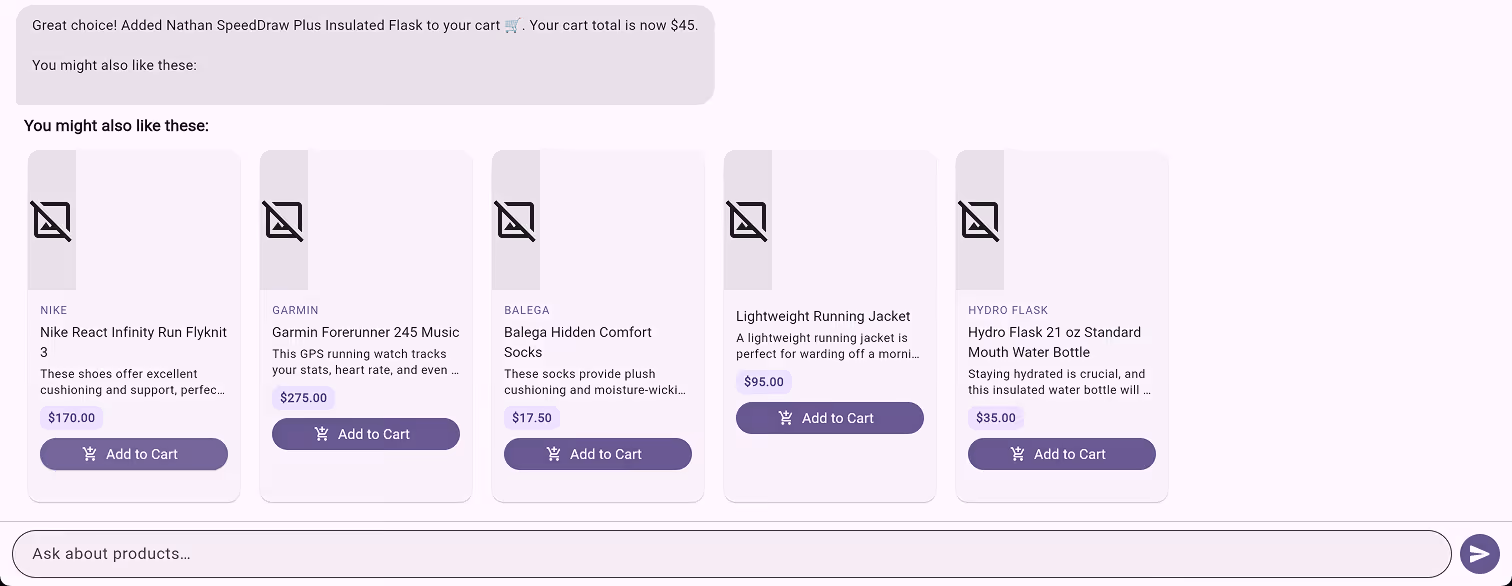
);With this tool registered alongside the UI tools, the model gains a two-step workflow. When a user asks “show me running shoes,” the model first calls searchProducts to find matching products from the inventory, then calls surfaceUpdate and beginRendering to display them as interactive product cards. The model doesn’t just format data you hand it — it retrieves the right data first, then decides how to present it.
Because tools are defined through Genkit’s defineTool, they automatically participate in the tool-calling loop, show up in traces, and have validated input schemas. You write the business logic; Genkit handles the plumbing.
4. Structured Output: Typed Responses Without Parsing
When a user asks “what should I buy?”, you want structured recommendations you can program against. Genkit’s outputSchema parameter on generate() constrains the model to return JSON conforming to a schema you define.
We built a dedicated flow for this:
_quickRecommendationFlow =
    _genkit.defineFlow<String, List<Map<String, dynamic>>, void, void>(
      name: 'quickRecommendationFlow',
      outputSchema: SchemanticType.from<List<Map<String, dynamic>>>(
        jsonSchema: {
          'type': 'array',
          'items': {
            'type': 'object',
            'properties': {
              'productName': { 'type': 'string' },
              'reason': { 'type': 'string' },
              'category': { 'type': 'string' },
              'priceRange': { 'type': 'string' },
            },
            'required': ['productName', 'reason', 'category'],
          },
        },
        parse: (json) =>
            (json as List<dynamic>).cast<Map<String, dynamic>>(),
      ),
      fn: (userQuery, context) async {
        final response = await _genkit.generate<GeminiOptions,
            List<Map<String, dynamic>>>(
          model: googleAI.gemini('gemini-2.5-flash'),
          messages: [ /* system + user messages */ ],
          outputSchema: /* same schema */,
        );
        return response.output!;
      },
    );
The flow’s output type is List<Map<String, dynamic>> — each map has a productName, reason, category, and optional priceRange. When the main flow detects a recommendation query, it calls this flow first to get structured data, then injects those recommendations back into the conversation for the UI rendering tools to display as product cards:
final recommendations = await _quickRecommendationFlow(userText);
messages.add(genkit.Message(
  role: genkit.Role.user,
  content: [
    genkit.TextPart(
      text: 'Here are structured product recommendations I got. '
          'Please search for these products and display them as a '
          'ProductCarousel...\n\n${jsonEncode(recommendations)}',
    ),
  ],
));
final text = await _shoppingAssistantFlow(messages);
This is flow composition in action: one flow extracts structured data, another renders it as UI. The schema guarantees the shape of the response — no parsing, no prompt engineering to coerce JSON output.
5. Context: Letting the Model Know What the User Wants
A shopping assistant that forgets your cart between messages isn’t much of an assistant. Genkit’s context system lets you thread state through the entire generation pipeline — tools, middleware, and flows all have access to shared context.
We built a ShoppingContext class that tracks cart items and user preferences:
class ShoppingContext {
  final List<CartItem> _cartItems = [];
  final Map<String, String> _preferences = {};

  bool addToCart(String productName, double price) {
    if (_cartItems.any((item) => item.productName == productName)) {
      return false;
    }
    _cartItems.add(CartItem(productName: productName, price: price));
    return true;
  }

  void setPreference(String key, String value) {
    _preferences[key] = value;
  }

  String toPromptSummary() {
    final buf = StringBuffer();
    if (_cartItems.isNotEmpty) {
      buf.writeln('## Current Cart');
      for (final item in _cartItems) {
        buf.writeln('- ${item.productName} (\$${item.price})');
      }
      buf.writeln('Cart total: \$${cartTotal}');
    }
    // ... preferences section ...
    return buf.toString();
  }

  bool isInCart(String productName) =>
      _cartItems.any((item) => item.productName == productName);
}
Before each generation, incoming messages are scanned for cart events and preference signals (like “my budget is under $100”). The context is injected into the system prompt via toPromptSummary(), and the searchProducts tool annotates results with cart status:
final json = results.map((p) {
  final map = p.toJson();
  if (_shoppingContext.isInCart(p.name)) {
    map['inCart'] = true;
  }
  return map;
}).toList();
The model sees what’s in the cart and can say “you already have those running shoes — want to see accessories instead?” The user’s stated preferences influence recommendations. The pattern is straightforward: scan incoming messages for state changes, maintain it in a class, and inject it into the system prompt and tool handlers. Genkit doesn’t prescribe how you manage conversation state — it gives you the pipeline hooks (system messages, tool context, middleware) to wire it in wherever it makes sense.
6. What We Gained
We started with a Firebase AI migration that called generate() with tools — functionally identical to what we had before. After five focused changes, we have:
- Flows that name and compose AI operations, making them observable and testable
- Middleware that handles transient failures without custom retry loops
- Custom tools that give the model access to business logic, not just UI rendering
- Structured output that guarantees typed JSON responses without parsing hacks
- Context propagation that threads user state through the entire pipeline
None of these required swapping models or rewriting the UI layer. Genkit sits between your application code and the model API, adding the infrastructure that production AI apps need. The Flutter GenUI integration stays exactly the same — the ContentGenerator interface doesn’t care whether you’re using Firebase AI or Genkit behind it.
One thing to note: in this blog, everything runs client-side — the Genkit instance, API calls, and tools all live in the Flutter web app. That’s great for prototyping, but in production you’d want your API key and AI logic on a backend. Genkit is designed for this: you can run flows on a Dart server and call them from Flutter via Genkit’s RemoteAction client. Stay tuned for Part 3, where we’ll move Genkit to the backend and show how the same flows, tools, and middleware work server-side.
If you’re building AI features in Flutter and you’ve outgrown raw API calls, Genkit is worth evaluating. Pair it with GenUI for model-driven UIs, and you have a solid foundation for production AI in Flutter.